Ethernet cable wiring is a fundamental component of building a reliable and high-speed wired network. It involves installing and configuring cables to connect devices securely.
Importance of Ethernet Cable Wiring
Ethernet cable wiring is crucial for establishing a reliable and high-speed network connection. It ensures stability and security, especially for applications requiring low latency, such as gaming and video streaming. Wired networks outperform Wi-Fi in speed and consistency, making them ideal for businesses and homes needing uninterrupted connectivity. Proper Ethernet wiring also supports advanced features like Power over Ethernet (PoE), enabling devices like IP cameras and access points to receive power and data through a single cable. Investing in a well-planned wired network enhances scalability and future-proofing for evolving technological demands.
Benefits of a Wired Network Over Wi-Fi
A wired network offers faster speeds, lower latency, and greater reliability compared to Wi-Fi. It provides a stable connection, essential for gaming, streaming, and high-bandwidth tasks. Wired networks are less susceptible to interference, ensuring consistent performance. They also enhance security, as physical connections are harder to breach than wireless signals. Additionally, wired networks are more energy-efficient and can support advanced features like Power over Ethernet (PoE). For homes and businesses requiring dependable connectivity, a wired network is the superior choice, delivering unparalleled performance and scalability.
Planning Your Ethernet Cable Installation
Planning involves assessing rooms, counting devices, choosing network topology, and estimating cable lengths to ensure a seamless and efficient wired network setup.
Design Considerations for Your Network
When designing your network, assess the number of rooms and devices needing connectivity. Choose a suitable topology—star, bus, or mesh—to ensure optimal performance. Measure cable lengths accurately to avoid excess or shortage. Consider future-proofing by installing higher-category cables like Cat6 or Cat6a for scalability. Ensure proper cable management to maintain organization and reduce interference. Plan for power delivery options if using PoE devices. Finally, incorporate security measures to protect your network from unauthorized access and physical damage to cables.
Identifying Rooms and Devices to Wire
Start by mapping out which rooms and devices require Ethernet connectivity. Common areas include home offices, entertainment systems, and smart home hubs. Identify the number of devices per room to determine the necessary ports. Consider high-bandwidth needs like gaming consoles or 4K streaming devices. Assess the layout to plan cable routes, avoiding obstacles. For multi-story homes, decide on centralizing cables or using switches per floor. This step ensures efficient network design and minimizes future upgrades.
Understanding Network Topology Options
Choosing the right network topology is crucial for an efficient setup. The two main options are centralized and distributed topologies. In a centralized topology, all Ethernet cables are routed to a single central hub or router, simplifying management. Distributed topology uses multiple switches across different areas, reducing cable runs and improving scalability. For home networks, centralized setups are common, while larger spaces may benefit from distributed systems. Understanding these options helps in designing a network that balances performance, cost, and ease of maintenance.
Calculating Cable Lengths and Requirements
Accurate cable length calculation is essential to ensure reliable network performance. Measure the distance between devices and consider the layout, including walls and corners. Add 10-15% extra cable for flexibility. Assess the number of ports and connections needed for each room. Consider future upgrades by installing slightly longer cables. Verify the required category (e.g., Cat5, Cat6) based on data speed and interference needs. Proper planning ensures minimal waste and optimal network functionality, while avoiding excessive cable management challenges.
Materials and Tools Needed
Ethernet cable wiring requires essential tools like cable cutters, wire strippers, and crimping tools. Materials include Ethernet cables, RJ45 connectors, and patch panels for organized installations.
Essential Tools for Ethernet Cable Wiring
Installing Ethernet cables requires specific tools to ensure a professional setup. A wire cutter or cable cutter is necessary for trimming cables to the correct length. Wire strippers are used to remove the outer sheath without damaging the inner wires. A crimping tool is essential for securely attaching RJ45 connectors. Additionally, a cable tester helps verify the integrity of the connections, ensuring proper functionality. These tools are crucial for achieving reliable and efficient network performance.
Types of Ethernet Cables (Cat5, Cat6, etc.)
Ethernet cables are categorized into different types based on their data transmission capabilities. Category 5 (Cat5) cables support up to 100 Mbps, suitable for basic networks. Category 5e (Cat5e) offers enhanced performance, reducing interference. Category 6 (Cat6) supports up to 1 Gbps, ideal for high-speed applications. Category 6a (Cat6a) and Category 7 (Cat7) provide even faster speeds, up to 10 Gbps, making them suitable for advanced networking needs. Each category ensures reliable connections, catering to various network requirements.
Understanding Cable Categories and Specifications
Ethernet cables are classified into categories based on performance standards defined by EIA/TIA. Each category specifies maximum data rates, bandwidth, and intended use. Category 5 (Cat5) supports up to 100 Mbps, while Category 5e (Cat5e) enhances performance to 1000 Mbps. Category 6 (Cat6) and Category 6a (Cat6a) offer up to 10 Gbps, suitable for high-speed networks. Category 7 (Cat7) provides even faster speeds and better shielding. Understanding these specifications ensures proper cable selection for your network needs, guaranteeing reliable performance and future-proofing your installation.
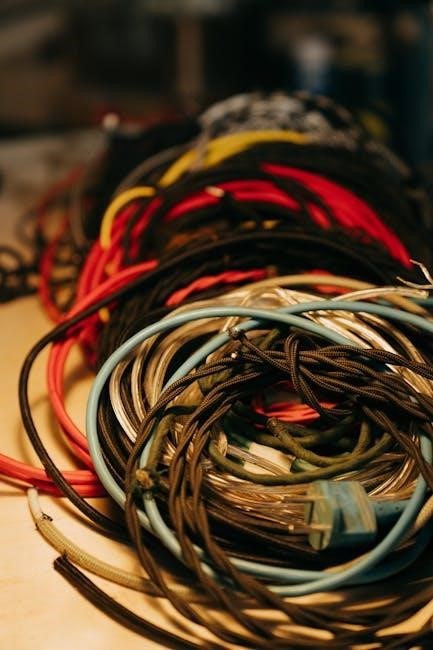
Understanding Ethernet Cable Types
Ethernet cables are categorized by shielding, conductor type, and performance. Shielded cables reduce interference, while unshielded are cost-effective for home use. Solid-core cables are durable, whereas stranded cables offer flexibility. Copper and copper-clad aluminum conductors vary in performance and cost, ensuring options for different networking needs and environments.
Shielded vs. Unshielded Twisted Pair Cables
Shielded twisted pair (STP) cables feature an additional layer of shielding to protect against electromagnetic interference (EMI), making them ideal for industrial or noisy environments. Unshielded twisted pair (UTP) cables lack this shielding, making them lighter, more flexible, and cost-effective. UTP is commonly used in home and office networks where interference is less likely. STP cables are recommended for high-frequency or outdoor installations, while UTP cables suffice for standard Ethernet setups. Choosing the right type depends on your network environment and performance requirements.
Solid vs. Stranded Ethernet Cables
Solid Ethernet cables feature a single, thick copper wire, making them durable and ideal for permanent installations or long-distance runs. Stranded cables, consisting of multiple thin wires, offer greater flexibility and resistance to damage from bending. Solid cables are commonly used for in-wall wiring and structured cabling systems, while stranded cables are preferred for patch cords and movable connections. Choosing between them depends on the intended use and the environment in which the cable will be installed.
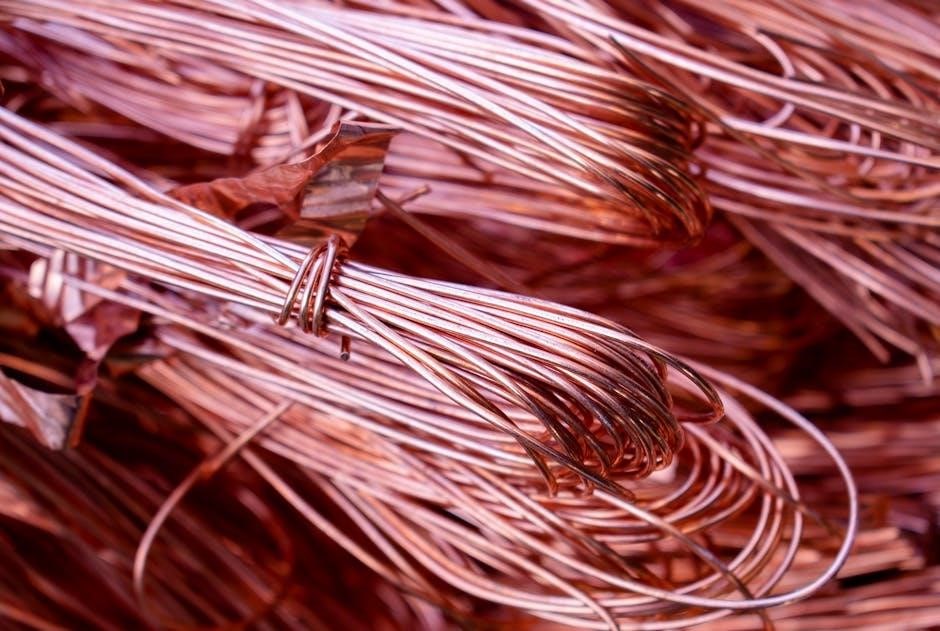
Copper vs. Copper-Clad Aluminum (CCA) Cables
Copper cables are highly conductive, ensuring reliable data transmission and durability, while Copper-Clad Aluminum (CCA) cables offer a cost-effective alternative. Copper cables are preferred for their superior performance in high-speed applications, supporting longer cable runs without signal degradation. CCA cables, with an aluminum core coated in copper, are more budget-friendly but may lack the same level of conductivity and durability. The choice between the two depends on performance needs, budget constraints, and the environment in which the cables will be used.

Wiring Standards and Pinouts
Ethernet wiring standards like T568A and T568B define proper RJ45 connector pinouts, ensuring reliable data transmission through correct color-coded wire pairing and cable termination practices.
T568A vs. T568B Wiring Standards
The T568A and T568B wiring standards are the most common configurations for Ethernet cables. Both use the same RJ45 connector type but differ in wire order. T568A pairs green and yellow wires in the center, while T568B pairs orange and yellow. Despite these differences, there is no electrical superiority between them; the choice often depends on regional preferences or organizational standards. Understanding these standards is crucial for proper cable termination and avoiding connection issues;
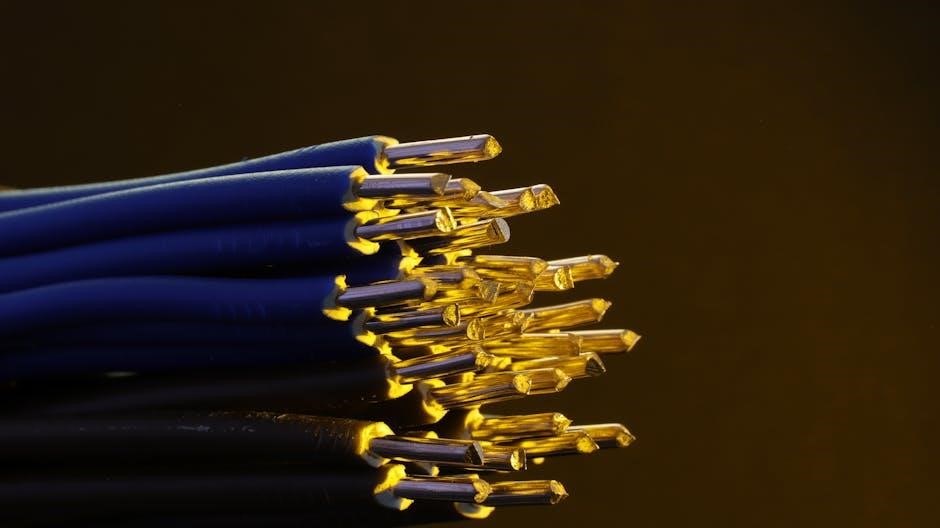
RJ45 Connector Pinouts for Ethernet Cables
RJ45 connectors use an 8-pin layout to terminate Ethernet cables. The pinouts follow either the T568A or T568B wiring standards, which differ in the arrangement of the green and orange wire pairs. Regardless of the standard, the physical layout ensures proper data transmission. Each pin corresponds to a specific wire color, with the outer sheath securing the connector. Consistency in wiring standards is essential to avoid connectivity issues. Always test the cable after wiring to ensure correct pinout configuration and proper functionality.
Color Coding and Wire Pairing Explained
Ethernet cables use standardized color coding to identify wire pairs, ensuring consistency and reducing errors. The four twisted pairs are color-coded as follows: orange (white-orange), green (white-green), blue (white-blue), and brown (white-brown); These colors correspond to specific pins in the RJ45 connector, adhering to T568A or T568B standards. Proper pairing and arrangement are critical for reliable data transmission. The twisted design minimizes electromagnetic interference, ensuring signal integrity. Always follow the color code to maintain correct wire pairing and achieve optimal network performance.
Step-by-Step Guide to Wiring an Ethernet Cable
Cut the cable to desired length, strip the outer sheath, and arrange wires by color code. Crimp an RJ45 connector securely and test the connection with a cable tester.
Preparing the Ethernet Cable for Wiring
Start by measuring and cutting the Ethernet cable to the desired length using wire cutters or scissors. Next, strip the outer insulation about 1-2 inches from the end to expose the inner wires. Carefully trim any excess nylon strands or wire guides to avoid interference. Gently straighten the wires and sort them according to the color code for the desired wiring standard (T568A or T568B). Ensure the wires are aligned properly and trimmed to the same length before proceeding to crimp the RJ45 connector.
Sorting and Arranging the Wires
After stripping the Ethernet cable, identify and sort the wires by their color codes. Each pair consists of a solid-colored wire and a striped wire. Align the wires according to the desired wiring standard (T568A or T568B). Hold the wires side by side to ensure proper alignment and trim them to the same length. This step is crucial for maintaining consistency and ensuring the connector fits securely. Properly arranged wires guarantee reliable data transmission and minimize the risk of connection issues.
Crimping the RJ45 Connector
Crimping the RJ45 connector is a critical step in Ethernet cable wiring. Insert the sorted wires into the connector, ensuring the outer sheath is inside the crimp. Use an RJ45 crimper to firmly squeeze the connector, securing the wires in place. This process ensures proper electrical contact and prevents connectivity issues. The crimper compresses the connector’s pins onto the wires, creating a secure connection. Always test the cable after crimping to verify its functionality and reliability. Proper crimping is essential for a stable and high-speed network connection.
Testing the Wired Ethernet Cable
Testing the wired Ethernet cable ensures proper functionality and reliability. Use a cable tester to verify continuity and correct wire pairing. Plug the cable into devices like a router or computer to check connectivity. Ensure the link light on the Ethernet port illuminates, confirming a successful connection. Perform a network test by pinging an IP address or accessing the internet. This step confirms data transmission accuracy and identifies any potential issues, ensuring your wired network operates efficiently and securely.
Common Ethernet Cable Wiring Mistakes
Common mistakes include incorrect wire pairing, insufficient cable length, and improper termination, which can lead to connectivity issues and degraded network performance.
Errors to Avoid During the Wiring Process
Common mistakes during Ethernet cable wiring include incorrect wire pairing, insufficient cable length, and improper termination. Incorrectly matching T568A and T568B standards can disrupt connectivity. Additionally, failing to trim wires evenly or not securing the RJ45 connector properly can lead to signal loss. Using the wrong cable category for your network’s speed requirements is another frequent error. Always use a cable tester to verify connections and ensure compliance with wiring standards to avoid performance issues and downtime.
How to Ensure Proper Cable Termination
To ensure proper cable termination, carefully follow wiring standards like T568A or T568B. Trim and straighten wires before inserting them into the RJ45 connector. Verify the color-coded pairs align correctly with the connector pins. Use a crimping tool to secure the connector firmly, ensuring the outer jacket is properly seated. Test the cable with a cable tester to confirm all pins are connected and functioning. Proper termination ensures reliable data transmission and prevents signal loss or network performance issues.
Advanced Ethernet Wiring Topics
Explore crossover vs. straight-through cables, Gigabit Ethernet requirements, and Power over Ethernet (PoE) considerations for enhanced network performance and functionality.
Understanding Crossover vs. Straight-Through Cables
Straight-through cables connect different devices (e.g., router to switch) using identical wiring on both ends, following T568A or T568B standards. Crossover cables, however, have differing wiring at each end (e.g., T568A on one side and T568B on the other) to connect similar devices (e.g., two switches or PCs). While straight-through is more common, crossover cables are used in specific scenarios to prevent signal interference. Modern network devices often auto-detect cable types, simplifying their use in various setups.
Gigabit Ethernet Wiring Requirements
Gigabit Ethernet requires high-performance cabling to support 10/100/1000 Mbps speeds. Cat5e, Cat6, or Cat6a cables are recommended to ensure reliable connections. These cables feature tighter wire twists and better shielding to minimize interference. Proper termination using T568A or T568B standards is essential to maintain signal integrity. For optimal performance, avoid excessive cable bends and ensure all connections are securely crimped. Shielded cables are recommended in environments with high electromagnetic interference to prevent data loss and ensure stable gigabit speeds.
Power over Ethernet (PoE) Considerations
Power over Ethernet (PoE) enables Ethernet cables to deliver electrical power alongside data, simplifying installations for devices like IP cameras and wireless access points. Typically, PoE uses two wire pairs for power and two for data. Cables must support PoE standards—PoE (15.4W), PoE+ (30W), and PoE++ (up to 90W)—to meet device requirements. Ensure compatibility between PoE-enabled switches and devices to avoid damage. Proper installation practices, including cable management and shielding, prevent overheating and interference. Plan networks carefully to handle power demands without overload for efficient and safe operation.
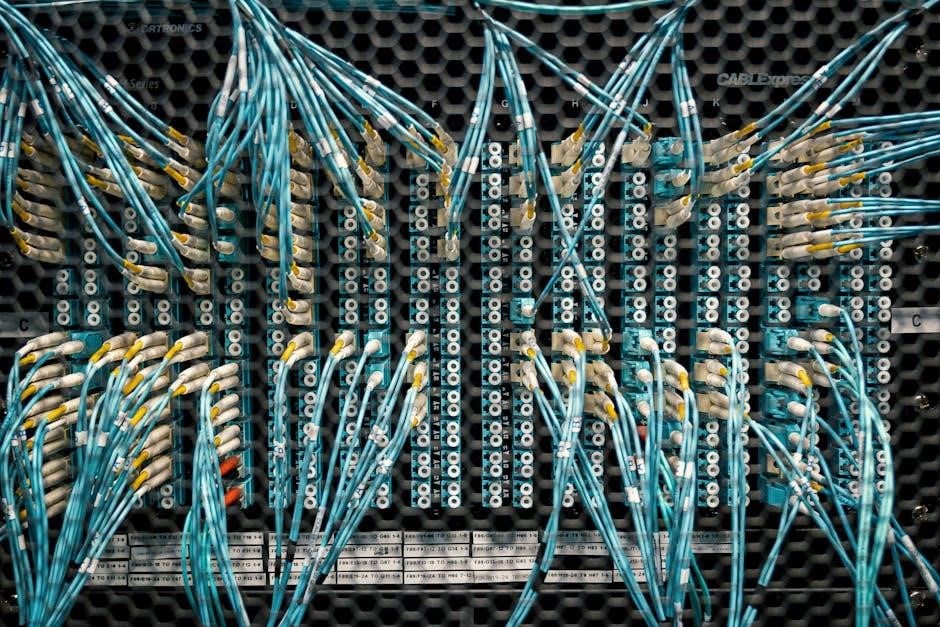
Networking Basics for Ethernet Cable Wiring
Ethernet cable wiring forms the backbone of a Local Area Network (LAN), enabling secure and high-speed connections between devices via switches and routers. Proper installation ensures reliability and optimal performance.
Setting Up a Local Area Network (LAN)
Setting up a Local Area Network (LAN) involves connecting devices within a limited geographical area using Ethernet cables, routers, and switches. A LAN provides a secure and efficient way to share resources, such as files and internet connections, between computers, printers, and other devices. To establish a LAN, start by planning the network topology, installing Ethernet cables, and configuring network settings. Ensure all devices have compatible Ethernet ports and IP addresses. Proper cable management and testing are crucial for reliable performance. A well-configured LAN improves speed, reduces latency, and enhances overall network security, making it ideal for homes, offices, and gaming setups.
Using a Patch Panel for Clean Installation
A patch panel is a key component for organizing and managing Ethernet cables in a clean and efficient manner. It acts as a central hub, allowing you to connect multiple devices and ports seamlessly. By installing a patch panel, you can simplify cable management, reduce clutter, and ensure a professional-looking setup. This system makes it easier to troubleshoot and expand your network. Properly labeling each port and organizing cables ensures scalability and ease of future upgrades, making it an essential tool for both home and office Ethernet installations.
Connecting Devices to Your Wired Network
Connecting devices to your wired network is straightforward and enhances performance. Start by plugging one end of the Ethernet cable into your device’s port and the other into a router or switch. Ensure the ports are securely connected for a stable link. This setup provides faster speeds and lower latency compared to Wi-Fi, ideal for gaming, streaming, or office work. Use Category 5e or higher cables for optimal performance. Regularly check connections and ports to avoid issues and maintain a reliable network experience.
Tips for Running Ethernet Cables
Plan cable routes carefully to avoid bends and damage. Use cable management tools for neat installation. Secure cables with clips or straps for long-term reliability and safety.
How to Run Ethernet Cables Through Walls
Running Ethernet cables through walls requires careful planning and execution. First, identify the best route for the cable, avoiding obstacles like plumbing and electrical wires. Use a drill bit to create a hole in the wall at an angle to prevent damage. Feed the cable through the hole, ensuring it is not pinched or bent. Secure the cable with cable clips or straps to maintain organization and prevent wear. For longer runs, consider using fish tape to guide the cable smoothly through the wall. Always label the cable ends for easy identification later. After installation, test the connection to ensure reliability and performance.
Best Practices for Cable Management
Effective cable management is crucial for maintaining a clean and efficient network setup. Start by organizing cables using cable ties, clips, or raceways to prevent tangles and damage. Label each cable clearly to ensure easy identification and troubleshooting. Route cables away from heating vents, moisture, and high-traffic areas to minimize wear. Secure cables every few feet to walls or surfaces to prevent sagging and tripping hazards. Use patch panels and structured wiring systems for neat and scalable connections. Regularly inspect cables for damage or obstructions to maintain optimal performance and reliability.
Securing Cables for Long-Term Reliability
Securing Ethernet cables properly ensures durability and minimizes damage over time. Use cable ties or clips to fasten cables to surfaces, spacing them every few feet to prevent sagging. Avoid tight bends or kinks, as these can degrade performance. Route cables away from heating vents, moisture, and high-traffic areas to reduce wear. Label cables clearly for easy identification. Regularly inspect cables for signs of damage or fraying. Consider using protective sleeves or conduit for added protection in harsh environments. Proper securing ensures reliable connections and extends cable lifespan.
Troubleshooting Ethernet Cable Issues
Troubleshooting Ethernet cable issues involves identifying common failures, testing connections with a cable tester, and addressing physical damage to ensure reliable network performance.
Identifying Common Cable Failures
Common Ethernet cable failures include physical damage, open or short circuits, and improper termination. Issues like cuts, bends, or wear can disrupt connectivity. Faulty crimps or incorrect wire pairing often cause signal loss. Environmental factors, such as moisture or interference, may degrade performance. Using the wrong cable category for the application can lead to speed or reliability problems. Regular testing with a cable tester helps detect issues like open circuits or miswired connections, ensuring reliable network performance and minimizing downtime.
Using a Cable Tester for Verification
A cable tester is an essential diagnostic tool for verifying Ethernet cable integrity. It checks for open circuits, short circuits, and miswired connections by testing each wire pair. Simply connect the tester to both ends of the cable to identify issues like improper termination or physical damage. This ensures reliable network performance by confirming that all wires are correctly paired and functioning as intended. Regular testing helps maintain a stable connection and prevents connectivity problems caused by faulty cables.
Fixing Physical Damage to Ethernet Cables
Physical damage to Ethernet cables can disrupt connectivity. To repair, first identify the damaged section and cut it out using wire cutters. Strip the outer sheath to expose the inner wires, ensuring no further damage. Carefully sort and straighten the wires, then re-crimp a new RJ45 connector. Test the cable with a tester to confirm proper functionality. Regular inspections and protective casing can prevent future damage, ensuring long-term reliability and stable network performance.
Mastering Ethernet cable wiring ensures a stable and high-speed network. Proper installation and future-proofing guarantee reliable connections. Apply these insights to create a robust wired network setup successfully.
Final Thoughts on Ethernet Cable Wiring
Ethernet cable wiring is a crucial skill for creating a stable and high-speed network. Proper installation ensures reliable connections and minimizes Signal interference. By understanding cable types, wiring standards, and best practices, you can future-proof your network. Always test cables after installation and maintain them regularly to prevent issues. With careful planning and quality materials, your wired network will deliver optimal performance for years to come.
Future-Proofing Your Wired Network
Investing in higher-category Ethernet cables, like Cat6 or Cat6a, ensures your network can support emerging technologies and faster speeds. Upgrading to gigabit Ethernet wiring provides a robust foundation for future demands. Consider installing additional ports and using modular components for scalability. Shielded cables can protect against interference in industrial environments. Regular cable testing and proper termination ensure long-term reliability. By planning ahead, you create a network that adapts to technological advancements and supports high-performance connectivity for years to come.