Loom knitting is a fun, accessible craft perfect for beginners. With downloadable guides like the Knifty Knitter Instructions PDF, you can master tools, stitches, and techniques. Start with free patterns and tutorials to create hats, scarves, and more, anywhere, anytime!
What is Loom Knitting?
Loom knitting is a versatile and user-friendly method of creating knitted items using a loom instead of traditional knitting needles. It involves working with yarn on a frame equipped with pegs, which hold the loops of yarn to form fabric. Unlike needle knitting, loom knitting is often more accessible for beginners, as it requires less hand dexterity and coordination. The process is straightforward: yarn is wrapped around the pegs in a specific pattern, and loops are then lifted to create rows of stitches. This technique allows crafters to produce a wide range of projects, from hats and scarves to blankets and clothing. Loom knitting is particularly popular because it is portable, easy to learn, and can be done almost anywhere. Many beginners find it rewarding to see their projects come to life quickly, even with minimal experience. With the help of guides like the Knifty Knitter Instructions PDF, anyone can master the basics and start creating their own knitted items. Loom knitting is a fun and creative way to craft personalized gifts or items for everyday use.
Benefits for Beginners
Loom knitting is an ideal craft for beginners due to its simplicity and accessibility. Unlike traditional needle knitting, loom knitting requires minimal hand dexterity, making it easier to learn and master. The portability of looms allows crafters to work on projects anywhere, and the repetitive nature of the stitches helps build muscle memory quickly. Many free resources, such as the Knifty Knitter Instructions PDF, provide step-by-step guides and tutorials tailored for newcomers. This ensures that even those with no prior knitting experience can start creating projects confidently. Additionally, loom knitting projects often have quick turnaround times, allowing beginners to see results sooner, which can be highly motivating. The craft is also cost-effective, as basic tools and yarn are affordable. Overall, loom knitting offers a rewarding and stress-free entry into the world of knitting, making it a perfect hobby for those looking to create handmade items without feeling overwhelmed.
Tools and Materials
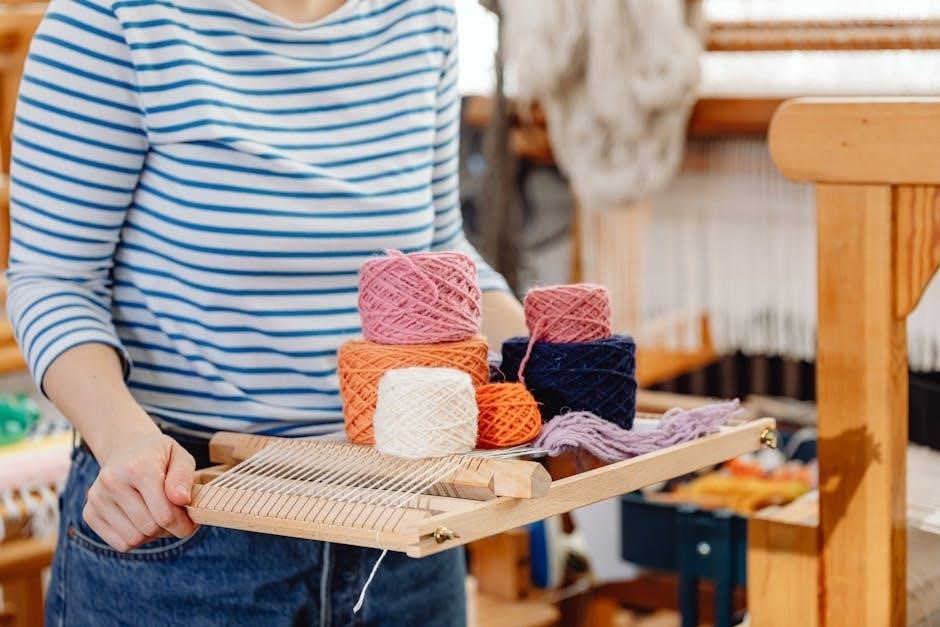
Essential tools for loom knitting include a loom, loom hook, yarn needle, and yarn. The Knifty Knitter Instructions PDF guide provides detailed information on selecting the right loom type and yarn weight for your projects, ensuring a great start for beginners.
Types of Looms
Loom knitting offers a variety of tools to suit different projects and skill levels. Round looms are ideal for hats, sleeves, and circular items, while long or rectangular looms are perfect for scarves, blankets, and flat panels. The Knifty Knitter and Boye looms are popular choices, with models like the blue, red, and green looms catering to specific project sizes. Adjustable looms provide flexibility for varying gauge preferences. For beginners, round looms with a small to medium peg count are recommended, as they are easy to handle and versatile. The Knifty Knitter Instructions PDF and other guides offer detailed insights into choosing the right loom for your needs. Whether you’re making a baby hat or a cozy blanket, there’s a loom designed to help you achieve professional-looking results. Start with a basic model and explore more specialized options as you gain confidence in your skills.
Essential Tools
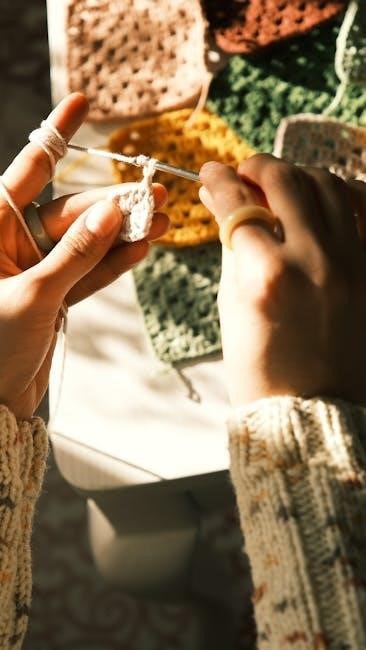
To get started with loom knitting, you’ll need a few basic tools. A knitting loom is the centerpiece, available in round, long, or rectangular shapes. A loom hook is essential for moving stitches and securing loops on the pegs. A yarn needle is necessary for weaving in ends and sewing seams. Scissors are handy for cutting yarn, and a measuring tape ensures your project meets the desired size. Stitch markers can help track your progress, especially for complex patterns. A ball of yarn is, of course, the foundation of your project—choose a weight and color that suits your design. For beginners, the Knifty Knitter or Boye loom sets are excellent starting points, often including a hook and yarn needle. Additional tools like a crochet hook can be useful for specific techniques. Always work with loose yarn to maintain softness and elasticity. Thicker yarn or multiple strands can create a fuller fabric. With these tools, you’re ready to begin your loom knitting journey and create cozy hats, scarves, and more!
Yarn Selection
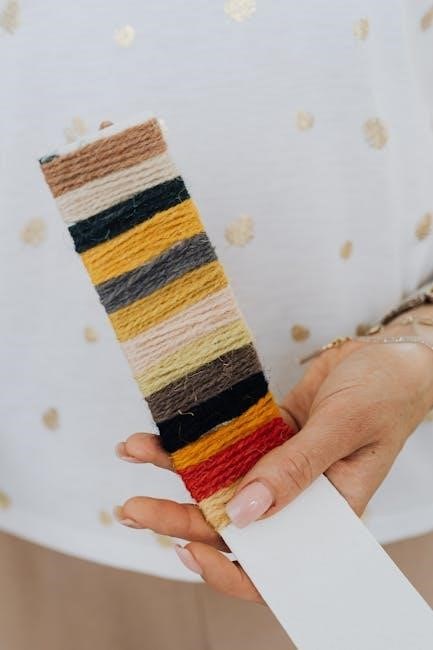
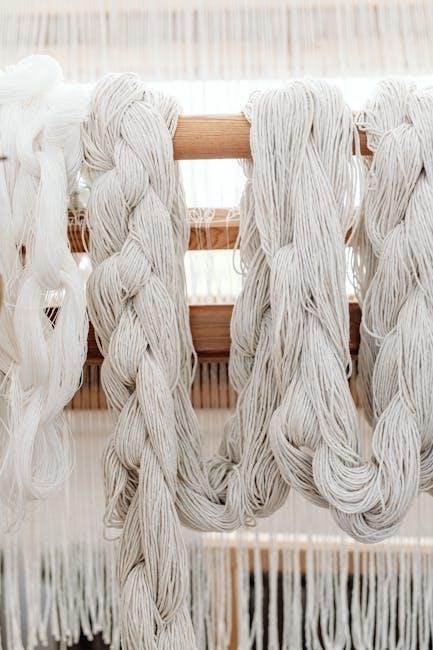
Choosing the right yarn is crucial for successful loom knitting. Beginners should opt for yarns that are soft, easy to work with, and suitable for their project. Worsted weight yarns are ideal for most starters, as they provide good stitch definition and elasticity. For a fuller fabric, consider using thicker yarns or knitting with two strands of medium-weight yarn. Loose yarn tension is essential to ensure your finished project remains soft and flexible. When selecting yarn, think about the intended use of your item—cotton yarns are great for summer projects, while bulky yarns work well for warm winter hats and scarves. Always check the yarn label for care instructions and fiber content. For example, acrylic yarns are durable and easy to care for, making them perfect for beginners. If you’re making something like a microwave-safe bowl cozy, cotton is a practical choice. experiment with different colors and textures to add personality to your creations. Proper yarn selection will enhance both the knitting process and the final result of your project.

Basics of Loom Knitting
Mastering the basics involves setting up your loom, casting on, and learning essential stitches. Single knitting is a great starting point, creating a simple, versatile fabric. These foundational steps will help you build confidence and explore more complex patterns.
Setting Up the Loom
Setting up your loom is the first step in starting your knitting journey. Begin by familiarizing yourself with the loom’s components, such as pegs, handles, and tension adjustment. For round looms, ensure the pegs are evenly spaced and secure. For rectangular or long looms, check that all pegs are aligned and free from obstructions. Follow the instructions provided in the Knifty Knitter Instructions PDF or similar guides to assemble your loom correctly. If using a downloadable manual, refer to the diagrams to ensure proper assembly. Once assembled, lightly tension the yarn around the pegs to create a stable foundation for your stitches. Proper setup ensures even knitting and prevents loose or tight fabric. Always double-check your loom’s setup before starting a project to avoid errors. With your loom ready, you’re set to cast on and begin creating your first project.
Casting On Methods
Casting on is the initial step in loom knitting, where you set up the stitches on the pegs. The single knitting method is ideal for beginners, involving wrapping the yarn around each peg to create a single loop. Start by securing the yarn end to the first peg, then bring the yarn behind the loom and wrap it around each subsequent peg, moving clockwise or counterclockwise. Ensure the yarn is not too tight, as this can cause tension issues. For a seamless join, pull the yarn gently to form a loop on each peg. Once all pegs have loops, you’re ready to begin knitting. The Knifty Knitter Instructions PDF provides step-by-step visuals for this process. Proper casting on ensures an even fabric and a professional finish. Practice this technique to master the foundation of loom knitting. Start with a small project to build confidence before moving to more complex patterns. With patience, you’ll achieve a perfect cast-on every time.

Basic Stitches
Mastering basic stitches is essential for beginners in loom knitting. The single knitting stitch is the most common, involving working adjacent pegs to create a single layer. This stitch is versatile for both flat panels and circular projects. For a garter stitch, knit every row without purling, resulting in a textured fabric. To achieve a purl stitch, wrap the yarn around the peg in the opposite direction of the knit stitch. Alternating between knit and purl stitches allows you to create intricate patterns. The Knifty Knitter Instructions PDF provides clear visuals for these stitches. Start with a simple scarf or hat to practice consistency. Always work with loose yarn tension to ensure soft, elastic results. Thicker yarns or double strands can add volume to your projects. These foundational stitches are the building blocks for more complex designs. With practice, you’ll confidently transition between stitches to create beautiful, professional-looking items. Use the How to Loom Knit PDF for step-by-step guidance and photo tutorials to refine your technique. This will help you master the basics and unlock endless creative possibilities in loom knitting.
Advanced Techniques for Beginners
Explore advanced techniques like binding off and finishing to refine your projects. Learn drop stitch patterns for texture and use thicker yarns or multiple strands for a fuller fabric. These steps enhance creativity and professionalism in your loom knitting journey.
Binding Off
Binding off is a crucial step in loom knitting that secures your final row of stitches, ensuring your project doesn’t unravel. For beginners, the basic bind-off method is straightforward. Start by knitting the last row as usual, then remove the loops from the pegs one by one, pulling the yarn tail through each loop to secure it. This creates a neat edge. To maintain elasticity, keep the yarn loose during this process. Some patterns may call for a stretchy bind-off, which involves knitting two pegs together before securing the loop. This technique is especially useful for hats, cuffs, and neckbands. Always tug gently on the working yarn to tighten the final loop, ensuring a clean finish. Practice this technique with a swatch before applying it to your main project for best results.
Finishing Techniques
Finishing techniques are the final steps that bring your loom knitting project to completion. Once you’ve bound off, you’ll need to secure loose yarn ends and shape your work. Start by threading the yarn tail through a yarn needle and weaving it through the stitches on the wrong side of the fabric. This ensures a clean, invisible finish. For projects like scarves or blankets, you may also want to block your work by wetting it, stretching it to shape, and allowing it to dry. This enhances the fabric’s texture and drape. If your project requires seaming, use a tapestry needle to sew the sides together neatly; For items like hats or bags, you might add a decorative border or handle. Always trim excess yarn to maintain a professional look. These finishing touches make your handmade items polished and ready to use or gift. Practice these techniques on swatches to build confidence before working on larger projects.