Into the Woods‚ a 1987 Sondheim musical‚ blends fairy‑tale motifs with sharp social commentary. Its score‚ featuring intricate harmonies and memorable melodies‚ has become a staple for performers worldwide. Sheet‑music PDFs offer accessible ways to study and perform these iconic pieces Enjoy
Background of Stephen Sondheim’s Composition
Stephen Sondheim‚ born in 1930‚ emerged as one of the most influential musical theatre composers of the twentieth century. His early work on West Side Story and Gypsy showcased a knack for complex harmonic language and sophisticated lyricism that would later define his signature style. By the mid‑1975‚ Sondheim had already crafted classics such as Company‚ Follies‚ and A Little Night Music‚ each reflecting a deep interest in character psychology and narrative nuance. Into the Woods‚ first staged in 1987‚ was a collaborative effort between Sondheim and playwright James Lapine. The musical reimagines familiar fairy‑tale figures—Jack‚ Rapunzel‚ the Big Bad Wolf—through a contemporary lens‚ blending whimsy with darker themes. Sondheim’s score is noted for its shifting time signatures‚ chromatic passages‚ and lyrical wordplay that mirror the story’s moral complexity. Songs such as “No One Is Alone” and “The Story of Tonight” demonstrate his ability to weave melodic hooks with intricate harmonic progressions. For performers and scholars‚ the availability of sheet‑music PDFs has revolutionized access to Sondheim’s dense material. Digital scores allow precise study of voicings‚ dynamic markings‚ and orchestration details that are essential for faithful interpretation. Whether printed for rehearsal or displayed on a tablet‚ these PDFs serve as indispensable tools for mastering the musical’s challenging passages. These PDFs aid teachers in blending theory practice !?!

Understanding Sheet Music Formats for “Into the Woods”
Into the Woods sheet‑music PDFs offer detailed notation‚ while MIDI files provide playback. PDFs show staff‚ dynamics‚ and articulations‚ essential for rehearsal‚ whereas MIDI allows quick listening and tempo adjustments. Choosing the right format depends on practice goals. PDFs aid study;MIDI sharp tempo.
PDF vs MIDI vs Other Digital Formats

When exploring Into the Woods sheet‑music PDFs‚ musicians often compare three primary digital formats: PDF‚ MIDI‚ and less common formats such as MusicXML or ABC notation. PDFs provide a faithful visual representation of the score‚ preserving every nuance of notation‚ dynamics‚ and articulation. This makes them ideal for detailed study‚ rehearsal‚ and performance preparation. However‚ PDFs are static; they lack playback capability‚ so users must rely on external software or a separate audio track to hear the music. MIDI files‚ on the other hand‚ encode musical information in a machine‑readable form that can be played back instantly in any compatible player. MIDI offers flexibility for tempo changes‚ instrument substitution‚ and real‑time listening‚ but it often omits expressive details like dynamics‚ slurs‚ and exact rhythmic notation‚ which can lead to a less accurate interpretation of Sondheim’s complex harmonic language. MusicXML‚ a more recent format‚ bridges the gap between PDF and MIDI by storing both notation and playback data in a structured XML file. This allows for high‑quality printing and accurate playback‚ though it requires compatible software such as MuseScore or Finale. ABC notation is another lightweight option‚ primarily used for folk and simple melodies; it is not well suited for the intricate scores of Into the Woods. Ultimately‚ the choice depends on the user’s workflow: PDFs for precise score study‚ MIDI for quick listening and tempo experimentation‚ and MusicXML for a hybrid approach that supports both detailed notation and dynamic playback. Each format serves a distinct purpose‚ and many performers use a combination to fully master the musical material.
Legal Landscape of Downloading Sheet Music PDF
Downloading Into the Woods PDFs without permission violates U.S. copyright law The score remains under copyright‚ not public domain. Users must purchase from authorized sellers or use licensed platforms; free copies are illegal unless released.
Copyright Laws and Public Domain Status
In the United States‚ the U.S. Copyright Act protects original works of authorship for the life of the author plus 70 years. Stephen Sondheim’s score for Into the Woods‚ first published in 1987‚ is therefore still under copyright. The work entered the public domain only after 2057‚ assuming no extensions. Because the musical is a collaborative effort‚ the rights are held jointly by Sondheim‚ the publisher‚ and the theatrical production company. Reproduction‚ distribution‚ or public performance of the score without authorization infringes. The Digital Millennium Copyright Act (DMCA) further prohibits the creation of derivative works‚ such as PDF transcriptions‚ that are not licensed. While some older works may be freely accessible‚ Into the Woods remains protected‚ and the only legal avenues for obtaining sheet‑music PDFs are through licensed distributors or the official publisher. Unauthorized sharing or downloading from peer‑to‑peer sites‚ or from sites that offer “free” PDFs‚ is illegal and can lead to civil or criminal penalties. The public domain status of a musical is determined by the date of the author’s death and the publication date; for Sondheim‚ the threshold is far beyond the current year. Therefore‚ the community must respect the copyright framework and seek proper licensing when using the score for teaching‚ recording‚ or performance online. Failure to comply can result in cease‑and‑desist notices‚ fines‚ or even litigation. In short‚ the legal landscape for Into the Woods sheet music is governed by federal copyright law‚ and the work remains under protection until the statutory period expires‚ at which point it may enter the public domain and become freely available for use.

Official Sources for Purchasing Sheet Music PDF
Licensed copies are sold by Sheet Music Plus and Rilting Music. They offer PDFs for piano‚ vocal‚ and ensemble parts. Prices vary by edition; bulk orders often get discounts. Choose the correct version for your instrument. All downloads are instant.
Sheet Music Plus and Rilting Music Offerings
Sheet Music Plus hosts a comprehensive catalog of “Into the Woods” scores‚ ranging from full orchestral scores to individual vocal and piano arrangements. Each PDF is licensed‚ ensuring performers receive authentic‚ high‑resolution copies that preserve the original notation and editorial notes. The site offers a tiered pricing structure: single‑instrument parts typically start around $12‚ while complete ensemble packages can reach $45. Bulk orders for schools or community groups receive a 10‑15% discount‚ and occasional promotional codes can reduce prices further. Customers can preview pages before purchase‚ guaranteeing the correct edition—whether it’s the original Broadway cast or a simplified arrangement for beginners. Once paid‚ the PDF downloads instantly‚ and a digital license key is emailed for future reference. Rilting Music‚ on the other hand‚ specializes in curated collections that include “Into the Woods” vocal books‚ piano‑vocal duet scores‚ and full‑band arrangements. Their PDFs are formatted for optimal print quality‚ with clear staff lines and legible lyric placement. Rilting’s pricing mirrors that of Sheet Music Plus‚ but they often bundle related Sondheim works at a discounted rate‚ making it convenient for performers who want to explore the composer’s broader repertoire. Both retailers provide reliable‚ legally compliant sheet‑music PDFs‚ and they offer a 30‑day refund policy if the download does not meet expectations. All PDFs come with a key!!
Free PDF Resources and Community Shares

Free PDF resources for Into the Woods come from community sites like the Nashville Sheet Music Community and Etsy listings. Musicians share simplified scores‚ allowing quick access for practice and performance. Always respect copyright and consider purchasing official copies. Download responsibly.!
Nashville Sheet Music Community and Etsy Listings
The Nashville Sheet Music Community offers free PDF arrangements of Into the Woods‚ from full orchestral scores to solo piano and vocal transcriptions. Musicians upload scanned originals‚ hand‑written editions‚ and user‑generated simplifications‚ allowing beginners and seasoned players to practice without buying expensive editions. The community stresses respectful sharing‚ urging contributors to credit composers and link to official publishers. Etsy listings provide custom PDF sheets‚ often featuring tailored piano‑vocal duets or guitar‑only transcriptions for rehearsal needs. Buyers preview sample pages before purchase‚ ensuring layout meets performance requirements. Both the forum and Etsy listings give an alternative for fast access to sheet music appreciation for the original work. Users should remain mindful of copyright restrictions especially for public performances and consider supporting official scores. The community collaborates on arranging projects‚ where musicians contribute edits to improve readability and playability. PDFs are shared under Creative Commons licenses‚ allowing adaptation for educational purposes. Etsy also offers promotions such as discounted bundles for holiday performances useful for theater groups preparing for spring shows. Users leave reviews and feedback helping sellers refine offerings and ensuring future customers receive high quality well formatted PDFs. By engaging with both the forum and Etsy musicians can access a wide array of resources that complement official scores making the rich musical world of Into the Woods more accessible to all Enjoy exploring and sharing. Feel free to contribute and collaborate. Join now! Thanks

Instrument-Specific Arrangements Available in PDF
Piano‚ vocal‚ flute‚ guitar‚ and mixed ensemble PDFs are widely available. Sheet Music Plus and Rilting Music offer full scores and simplified arrangements. These PDFs feature clear notation‚ tempo markings‚ and dynamic cues‚ enabling performers to rehearse and stage productions with confidence!!!!!
Piano‚ Vocal‚ Flute‚ Guitar‚ and Mixed Ensemble PDFs
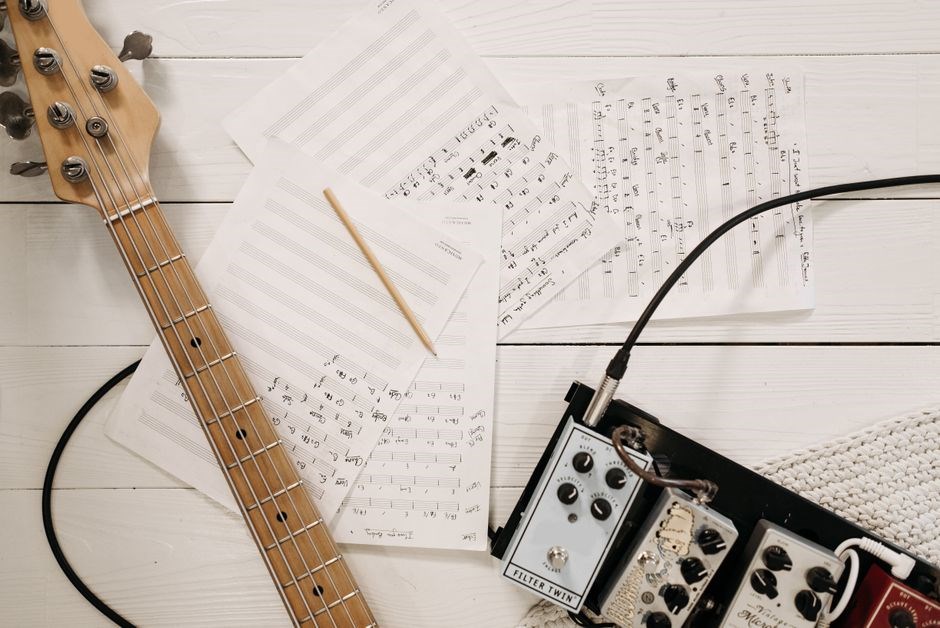
Into the Woods sheet music PDFs span a wide spectrum of instrumentations‚ catering to soloists and. The most sought‑after piano arrangements are found on Sheet Music Plus and Rilting Music‚ where both full‑score and simplified versions are offered in PDF format. These files feature clear key signatures‚ dynamic markings‚ and rehearsal tempo indications‚ allowing pianists to capture Sondheim’s harmonic nuance. Vocal PDFs‚ often bundled with piano accompaniment‚ provide accurate lyric placement and vocal ranges‚ making them ideal for soloists and choruses. Flute and piccolo arrangements are available from dedicated arrangers such as LukeFields5‚ whose PDFs include articulation symbols and expressive phrasing that reflect lyrical quality. Guitarists can find transcriptions that adapt orchestral texture to a single instrument‚ with chord voicings and rhythmic patterns preserving melodic integrity while remaining playable. Mixed‑ensemble PDFs combine individual parts into a cohesive score‚ complete with conductor’s cues and ensemble balance notes. These PDFs are available in format‚ enabling ensembles to tailor arrangements instrumentation. See online. The availability of these instrument‑specific PDFs democratizes access to Sondheim’s work and encourages creative interpretation across diverse musical settings. Whether you are a student‚ teacher‚ or seasoned performer‚ the breadth of PDF resources ensures every musical voice can find a place in the rich tapestry of Into the Woods.
Tips for Printing and Practicing from PDF Files
Print Into the Woods PDFs at 300‑dpi for clear notes. Use 100% scaling to avoid distortion. For practice‚ zoom into difficult passages‚ then print a custom PDF of that section. Keep a separate sheet with rehearsal tempo markings and a full score reference for context.now
Optimizing Page Layout and Note Visibility
Set the page orientation to landscape for wide staves‚ and use the “fit to width” option to keep the staff lines evenly spaced. Increase the line spacing (leading) to 1.2× the default; this reduces visual clutter and makes slurs easier to read. If the PDF contains multiple parts on one page‚ split them into separate pages—most modern notation editors allow exporting each part as a single‑page PDF. For printed copies‚ choose a high‑resolution printer (≥300 dpi) and a thick paper stock to prevent ink bleed. Add a thin margin (0.25″) around the staff to allow for finger placement when playing. When the PDF is viewed on a screen‚ enable “high‑contrast” mode or invert colors to improve note visibility for performers with visual impairments. Finally‚ use a PDF annotation tool to highlight key measures or tempo changes; this keeps the sheet uncluttered while providing quick reference points during rehearsal. Consistent layout and clear notation are essential for mastering the complex harmonies of Sondheim’s score and enjoy again!Share‚ download and print free sheet music of Into The Woods Stephen Sondheim for piano‚ guitar‚ flute and more with the worlds largest community of sheet music creators‚ composers‚ performers‚ music teachers‚ students‚ beginners‚ artists and other musicians with over 1‚000‚000 sheet digital … Dont forget‚ if you like the piece of music you have just learned playing‚ treat the artist with respect‚ and go buy the original sheet music. Have fun! … Into the Woods is an award-winning musical with music and lyrics by Stephen Sondheim and book by James Lapine. Again
Create simplified PDFs by selecting a single instrument‚ reducing orchestration‚ and using notation software like MuseScore or Sibelius. Export as PDF‚ adjust key signatures‚ and add chord symbols for easier learning. Etsy offers ready‑made simplified versions for quick purchase. Add free templates. edit!!.
Using Online Tools and User-Generated Content
When you want a custom “Into the Woods” PDF‚ start with a free notation platform. MuseScore‚ Noteflight‚ and Flat.io let you import a MIDI‚ edit the score‚ and export a clean PDF. After loading the full orchestral score‚ isolate a single instrument‚ simplify voicing‚ and add chord symbols for beginners. Many musicians upload their own arrangements on Sheet Music Plus‚ Rilting Music‚ or Etsy; these listings often include a “custom‑simplified” option‚ letting buyers request a specific key or reduced orchestration. Always check the license: most free PDFs are shared under Creative Commons or personal‑use only‚ while commercial downloads require purchase. A useful workflow is to download a community PDF‚ open it in a notation editor‚ adjust the page layout—e.g.‚ 8.5×11 inches‚ double‑spaced staves‚ larger note heads—and re‑export. This improves readability and ensures the final file meets your practice or performance needs.
The open‑source community offers tools like LilyPond‚ which uses plain‑text input to produce high‑quality PDFs. Visual editors such as Sibelius and Finale support PDF export and provide instrument parts. Flat.io’s real‑time editing lets multiple users work on the same score‚ ideal for ensemble rehearsals. After finishing a PDF‚ you can use Adobe Acrobat or free alternatives like PDFsam to split‚ merge‚ or rearrange pages‚ organizing the file for each musical section. If a part is missing‚ forums like the Sondheim fan community on Reddit or Musicians’ Corner on Discord can point you toward unofficial transcriptions freely shared for educational purposes. Always verify the source to avoid pirated material. This approach keeps practice organized